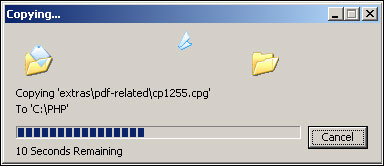
Start by creating a directory into which you will extract the downloaded PHP files. In this example I’m going to use C:\PHP as my installation directory. Then extract the files from the zip into C:\PHP. Please check the PHP website for latest PHP release.
If you need to use the additional PECL modules then extract the files from the PECL Zip into the C:\PHP\ext directory.
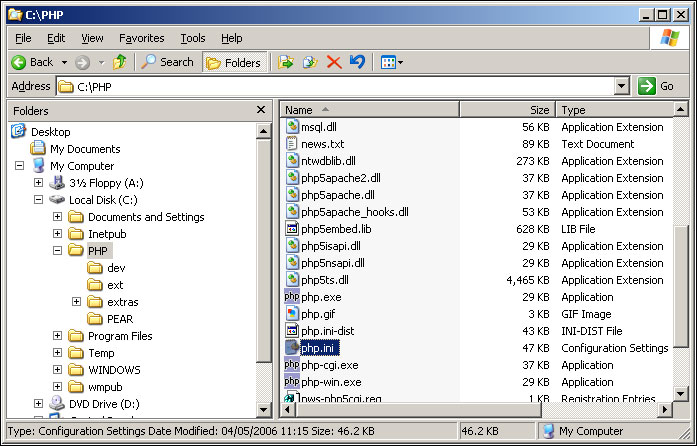
Next locate the file ‘php.ini-recommended’ in C:\PHP and rename it to ‘php.ini’ (without the quotes of course)
Open the ‘php.ini’ file and find the line which reads extension_dir = “./” and change it to extension_dir = “C:\PHP\ext”. This tells PHP where the various extensions are located. If you open the default PHP.INI file which ships with the ZIP file you can see that the default path in the ‘php.ini-recommended’ file points to the wrong location, so you need to change it.
You also need to add the location of your PHP directory to the server’s PATH environment variable so that Windows knows where to look for any PHP related executables (such as the PHP extension DLL‘s). To do this Right-click on My Computer, click Properties and on the Advanced tab click Environment Variables. In the Environment Variables dialog box, under System Variables highlight the Path variable and click Edit.
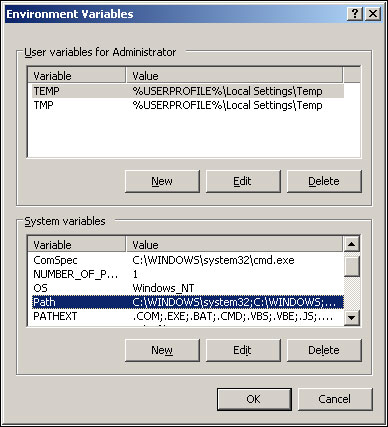
Add ‘;C:\PHP’ (be sure to include the semi-colon separator) as shown here and click OK. You will need to re-boot the server for this change to take effect as system variables are loaded when the server starts up.

If you browse through the ‘php.ini’ file you will see an entry describing the ‘cgi.force_redirect’ property. You will also see a statement telling you that if you are using IIS you ‘MUST’ turn this off. However, this only applies if you are using the CGI version of PHP (i.e. php-cgi.exe) Since we are using the ISAPI version of PHP we can safely ignore this.
Configuring IIS (Only if required)
There are a few simple steps you need to take in order to get PHP working under IIS 6.0
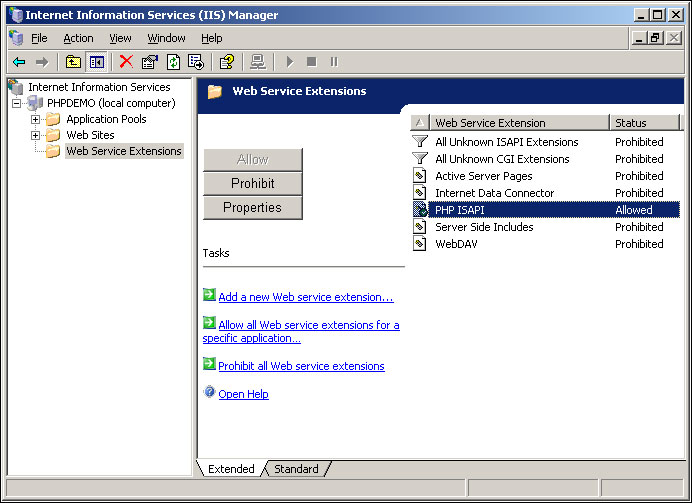
First we need to create and then enable an appropriate Web Service Extension so that IIS will both recognize and allow PHP files to be processed by the appropriate script engine.
You can use the Internet Information Services (IIS) Manager GUI method to perform this task but there is a much quicker way of doing this; namely using the ‘iisext.vbs’ Command-Line Administration Script, which you will find in C:\Windows\system32 by default.
Assuming you are using the same directory structure as I am in this walkthrough you can simply copy and paste the following line of text and execute it at a command prompt from C:\Windows\system32 :
cscript iisext.vbs /AddFile c:\PHP\php5isapi.dll 1 PHPISAPI 1 “PHP ISAPI”
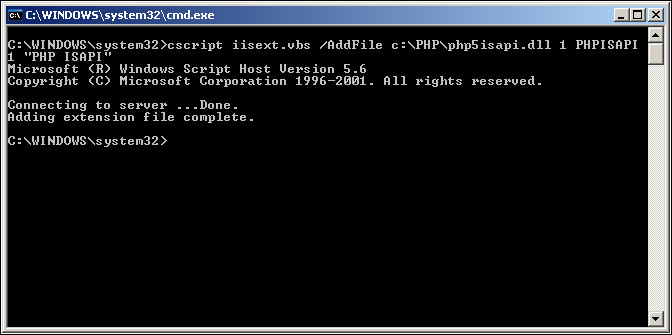
As you can see, this script creates a new Web Service Extension named “PHP ISAPI” with a status of Allowed.
The IIS 6.0 Command-Line Administration Scripts are very powerful and flexible tools and I would recommend using them wherever possible.
OK, now we are ready to test our PHP installation. Start by creating a simple PHP test file. Open Notepad on the server and copy the following line into a new text file: <?php phpinfo(); ?>
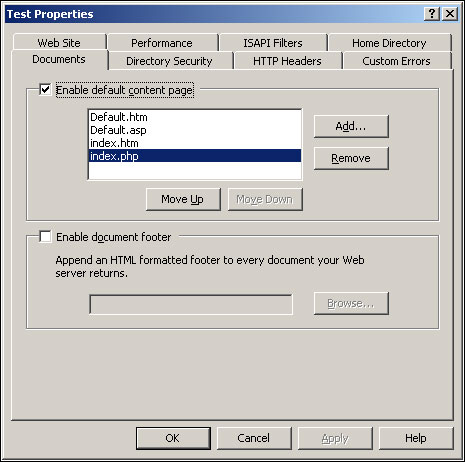
Save the file as index.php in the root of the test web site. Next create a new default document type of index.php on the test web site (this step is optional but it just makes browsing a bit easier)
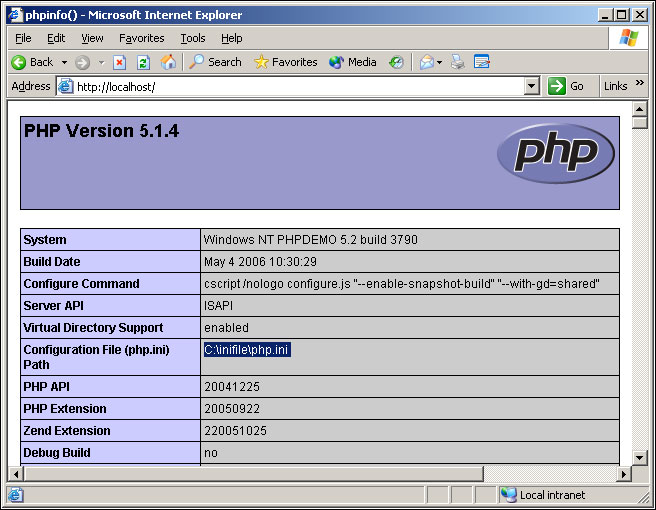
Browse the site and you should see the standard PHP configuration details page
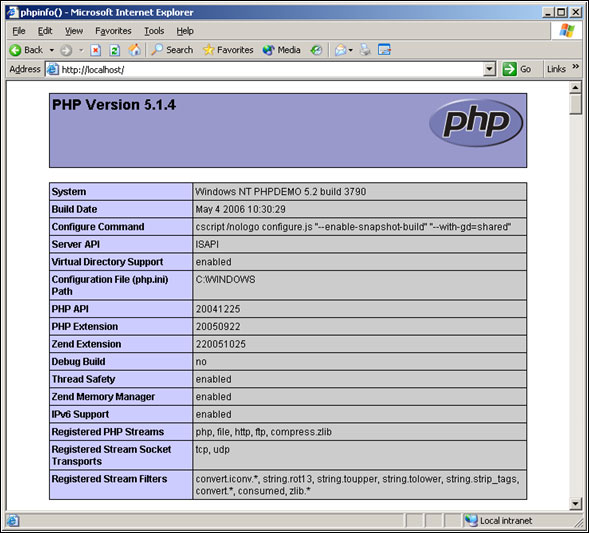
However, if you look carefully at the above page you will notice it is indicating that my ‘php.ini’ file is actually located in ‘C:\WINDOWS’ even though there is no such file in my C:\WINDOWS directory. This is because the ‘php5isapi.dll’ file is actually compiled with this location as its default value. A number of existing PHP and IIS tutorials suggest that you should copy the ‘php.ini’ file to the C:\WINDOWS directory – but what if you don’t want to do that?
Well, you don’t have to because PHP allows you to actually configure a custom value for the ‘php.ini’ file location. There are a number of ways to do this but perhaps the simplest is to configure the PHPRC environment variable.
To demonstrate how this works I am going to create a new folder called ‘C:\inifile’ and instruct PHP to read its configuration data from the ‘php.ini’ file in this location (in practice you may prefer to leave your ‘php.ini’ file in the C:\PHP directory)
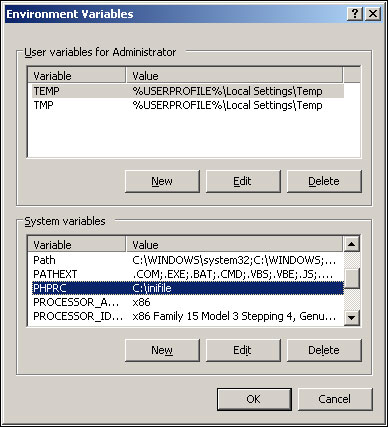
In order to do this I need to create a new System environment variable named ‘PHPRC’ and provide the appropriate values. Right-click on My Computer, click Properties and on the Advanced tab click Environment Variables.
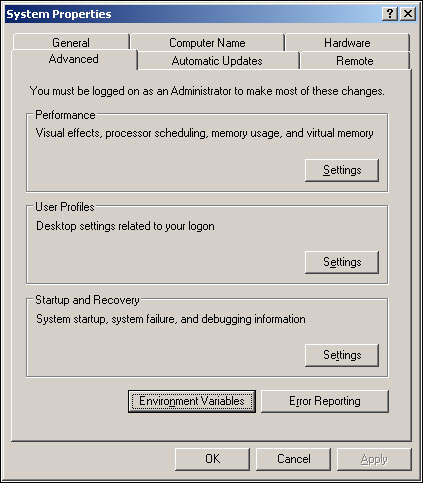
In the Environment Variables dialog box, under System Variables click New. In the New System Variable dialog box type PHPRC for the variable name and then enter the desired path to your ‘php.ini’ file’s location.
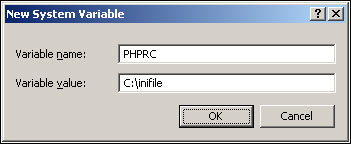
Then click OK and you will see that a new System environment variable has been created. In order for this to take effect you need to re-boot the server at this stage.
#Note
As an alternative, you can edit the registry and specify the location of your configuration file. The main benefit of the registry edit method is that it doesn’t require a re-boot – in testing this method I found that any changes made would take effect once the application pool serving the web site was recycled. However, choose whichever method you feel most comfortable with and which fits your requirements.
Now if we browse the site we can see that PHP is indeed looking for its ‘php.ini’ file in the ‘C:\inifile’ location which I specified previously.
And that’s it. You should now have a working installation of PHP running on IIS 6.0.

