In this article I’ve tried to explain how to install or upgrade an organization running on Exchange Server 2003 to Exchange Server 2007 SP1 on a Windows 2008 Server. In the next post I’ll be talking about some post install configurations and then after how to remove Exchange 2003 from the organization once everything is migrated to Exchange 2007.
There is no in-place upgrade supported with Exchange 2007 and so the only option is to upgrade to Exchange Server 2007 by adding it to the current Exchange 2003 organization and then moving all the resources from Exchange 2003 to Exchange 2007 and thereafter removing the Exchange 2003 Server. This means that we have no option but to perform a migration. So let’s get on with it.
Prerequisites
The first step is to prepare our new Windows 2008 server so that it is ready for Exchange Server 2007 installation. Please note that we are talking about the 64-bit version of Exchange Server 2007 SP1 as the 32-bit version is not supported in production environment.
We will need the following components installed before we proceed:
- .Net Framework version 2.0 and 3.0
- .Net Framework version 2.0 update or Service Pack 1
- IIS 7 (various components)
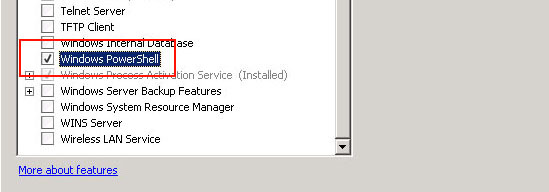
- Windows PowerShell
-
- MMC -Microsoft Management Console 3.0 (installed by default so can be skipped)
The following components should not be installed (were required in Exchange 2003):
- Network News Transfer Protocol (NNTP)
- Simple Mail Transfer Protocol (SMTP)
Once we have installed the prerequisites, let’s proceed towards the installation.
Installation Process
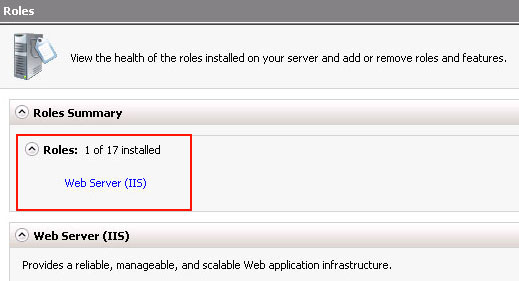
We are going to install all Exchange Server Roles (HUB, CAS and MAILBOX) on one single box except for the Edge Transport Role. Let’s start by first preparing the Active Directory for Exchange 2007. Actually, the installer would do this automatically, but I like to perform this manually so that we can see what’s happening and understand it better. Here is what we will do before we run the installer of Exchange 2007:
- Prepare the schema for legacy Exchange permissions. This is because we are migrating from Exchange 2003 in the current organization.
- Prepare Schema
- Prepare Active Directory
- Prepare the Domain
The first thing that we do is to update the schema for legacy permissions. In order to do this we must login to the Domain Controller which is the Schema Master at the forest root and run the command from there.
Type Setup /PrepareLegacyExchangePermissions and press Enter.
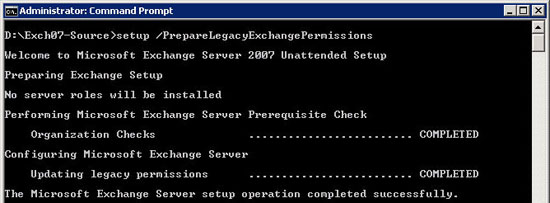
This must be run as an Exchange Admin account and also ensure that you are in the local server’s Administrator group. The safest thing to do is to add the user account you are logged in with to the Enterprise Administrators Group, Schema Administrator Group and Domain Administrators Group. Also, the domain should be able to communicate with all other domains in the forest and we should all ample time for the replication to finish once this command is run.
Next, we will proceed towards updating the Schema from the Windows 2008 Server. Type Setup /PrepareSchema and press Enter.
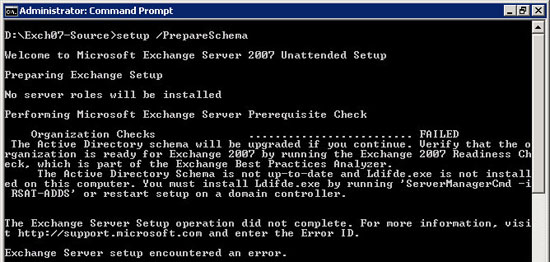
We can see that the task failed with an error on the server. This is because the Remote Server Administration Tools were not installed. We can do this using the GUI but I’ve used the command line. Type ServerManagerCmd -I RSAT-ADDS and press Enter.
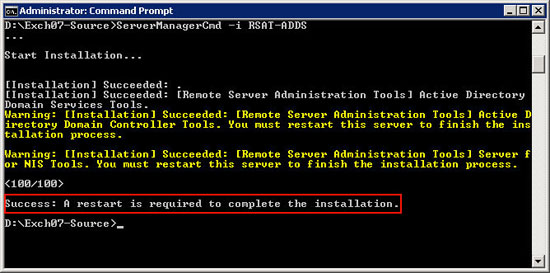
Here we go, the Remote Server Administration Tools have been installed and we need to reboot our Windows 2008 server before proceeding further.
Once the server has rebooted, let’s try preparing the Schema once again. Type the command that we used earlier – Setup /PrepareSchema and press Enter.
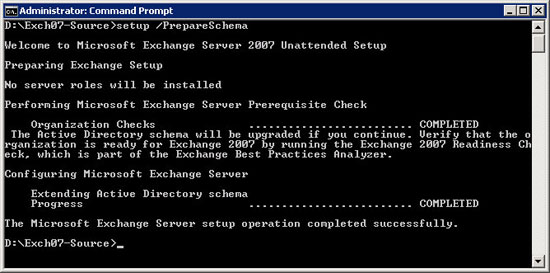
This time the task completed without error. Let’s move on.
Type Setup /PrepareAD to proceed with the Active Directory preparation.
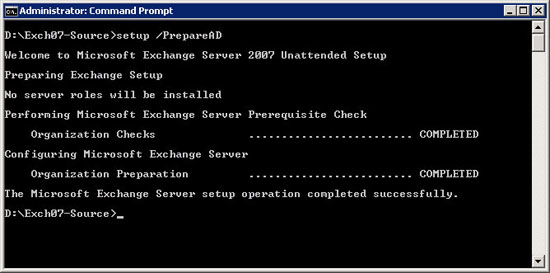
Once this is completed, move on with preparing the domain.
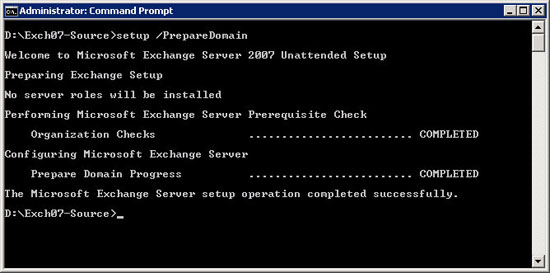
Type Setup /PrepareDomain and press Enter.
Note: this setup can be skipped if you do not have multiple domains within the forest.
Great, we are done with preparing our Active Directory for Exchange Server 2007 SP1 installation and now we can run the installer. If you have geographically dispersed domains, please allow enough time for replication to happen over the WAN links.
So, with the Active Directory now ready, we are ready to complete the installation. Start the setup. The first screen that we see is as under:
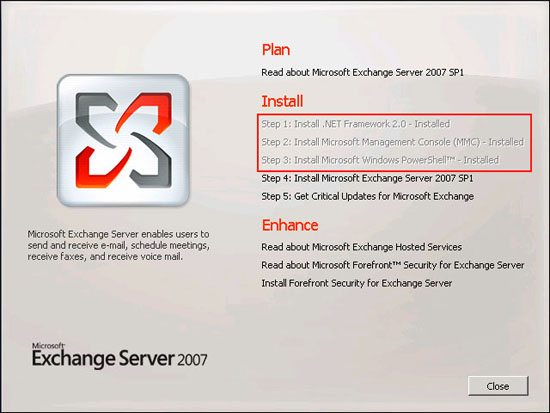
Since we have already taken care of the prerequisites, we can directly proceed to Step-4 i.e. Install Microsoft Exchange Server 2007 SP1. Click on it and we will be presented with the standard EULA.
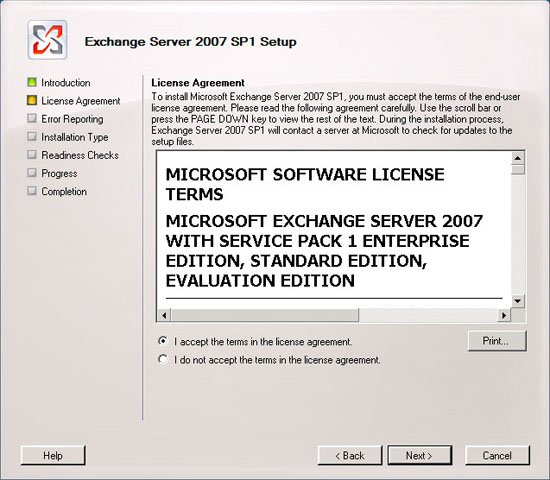
Accept the License Agreement and click Next.
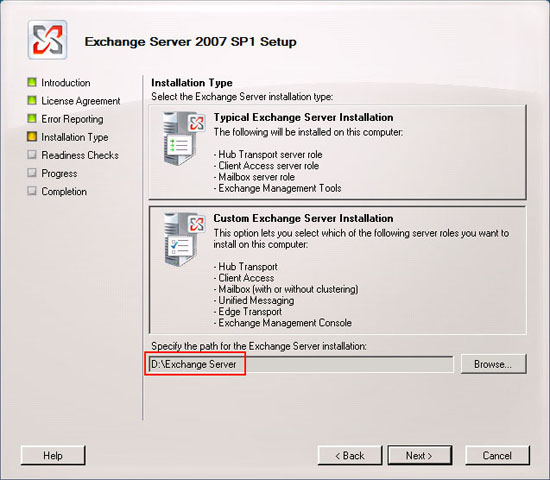
We now have a choice of a Typical Installation or a Custom Installation. Since I like to see what configuration options are available, I always tend to choose the Custom option. Also, for this example, we are going to install the Exchange server in the D: drive instead of the C: drive. You can change the path to your liking here. Once the selections are done, click Next.
The next screen allows us to choose which roles we want to install.
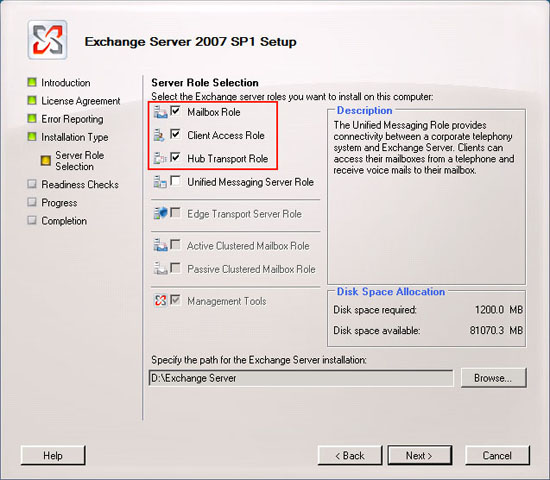
We will choose all the three main roles i.e. Mailbox Role, Client Access Role (CAS) and Hub Transport Role (HUB). I’m not choosing the Unified Messaging Role (UM) as I intend to do a separate article on this in the near future.
Once the selections have been done, click Next.
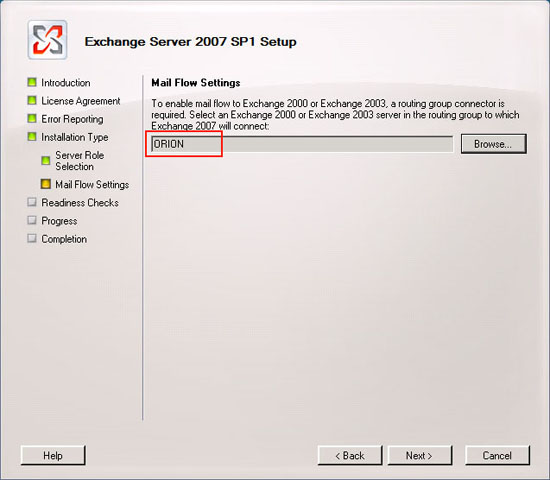
Here we go. The installer now prompts for the Mail Flow setting. Since we have an Exchange 2003 server we will need to browse and select the same so as to enable it as a Bridgehead server in the routing group. Once selected, click Next.
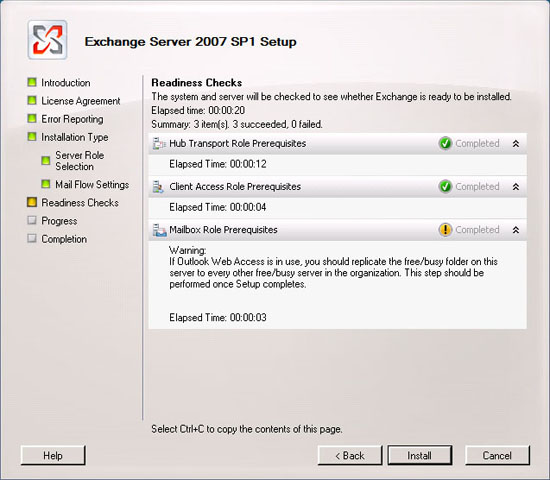
In the Readiness Check page, wait for all the readiness checks to complete and then click Install.
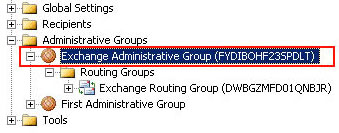
The installation process takes some time so it would be a good idea to sit back and relax over a cup of coffee. During the installation process, if we open up the System Manager on Exchange Server 2003, we will notice a new routing group.
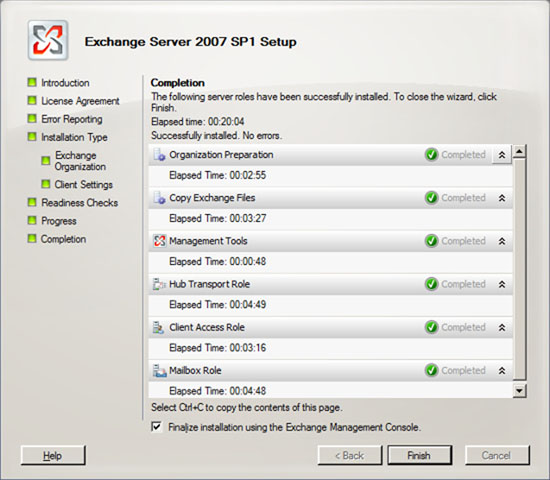
Once the installation process completes, we now have a working environment of the new Exchange Server 2007 SP1. The process of installing Exchange 2007 on a Windows 2008 server is fairly simple.
To verify the installation, open the new Exchange Management Shell and type Get-ExchangeServer. A list of all Exchange 2007 server roles that we installed would be displayed. It is a good idea now to open up the Management Console of Exchange and run the Exchange Best Practices Analyzer. It will give a good idea about the deployment and would help in determining if the configuration has been done in accordance to the Microsoft best practices.


4 comments
The best information i have found exactly here. Keep going Thank you
I really liked this post. Can I copy it to my site? Thank you in advance.
Thanks for the feedback. You can copy this to your site as long as you link back to my site.